- Domains
- DNS Management
- Content Delivery Network
-
Cloud Containers
- Overview
-
Using Containers
- Creating and Managing
- Connecting to a Container
- Swapping the Image
- Domain Aliases
- Environment Variables
- Protected Environment Variables
- Backing Up
- Automatic Updates
- SSL Support
- Adjusting Execution Time Limits
- Upgrading Apache Image
- Renaming a Container
- Port Management
- Caching
- Cloning/Overwriting
- Restoring a Backup
- Production Mode
- Metrics Dashboard
- Accessing supervisord
- Container Deprecation
- SSH / SFTP Users
- Databases
- Volumes
- Custom Images
-
Technical Guides
- Create a NodeJS Container
- Creating a Service Container
- Working with .NET Core Web Containers
- Working with Node.js Web Containers
- Working with Umbraco Web Containers
- Deploying your application with git
- Python Container
- Enable Country-Level blocking in Cloud Containers
- Working with SQL Server Containers
- Working with the SilverStripe Caching folder
- Profiling a site using Xdebug on Cloud Containers
- Working with SilverStripe Containers
- NGINX Proxy for Service Containers
- Tuning PHP OPcache
- Low Disk Warnings & Upgrades
- Local Development
- Virtual Servers
- Dedicated Servers
- Private Cloud
- Cloud / Shared Hosting
- Email Hosting
- Monitoring & Bandwidth
- Account & Billing
- Developers
- SSL Certificates
Navigation
Options
Clear History
Example - Wordpress
Before following this guide, we recommend reading through the Getting Started article to understand the basics of how to run your Cloud Container images locally.
- Follow the Quick Start guide so you have a PHP web server, database and PHPMyAdmin container running locally.
- In the
application/publicdirectory, download and extract the Wordpress files.If you created an
index.phpfile during the Quick Start guide, remove it first withrm index.php.cd application/public wget https://wordpress.org/latest.tar.gz tar --strip-components=1 -xzvf latest.tar.gz - Login to MySQL as using the password defined in Step 1
docker exec -it mariadb1011 bash mysql -u root -p - Create the
wordpressdatabasemysql> CREATE DATABASE wordpress; - Create the Wordpress database user. This will create a MariaDB user with the username
wordpress. Replacepasswordwith a secure password for this user.mysql> CREATE USER 'wordpress'@'%' IDENTIFIED BY 'password'; - Create the Wordpress user privileges over the
wordpressdatabase.mysql> GRANT ALL PRIVILEGES ON wordpress.* TO 'wordpress'@'%'; -
Exit the MariaDB shell
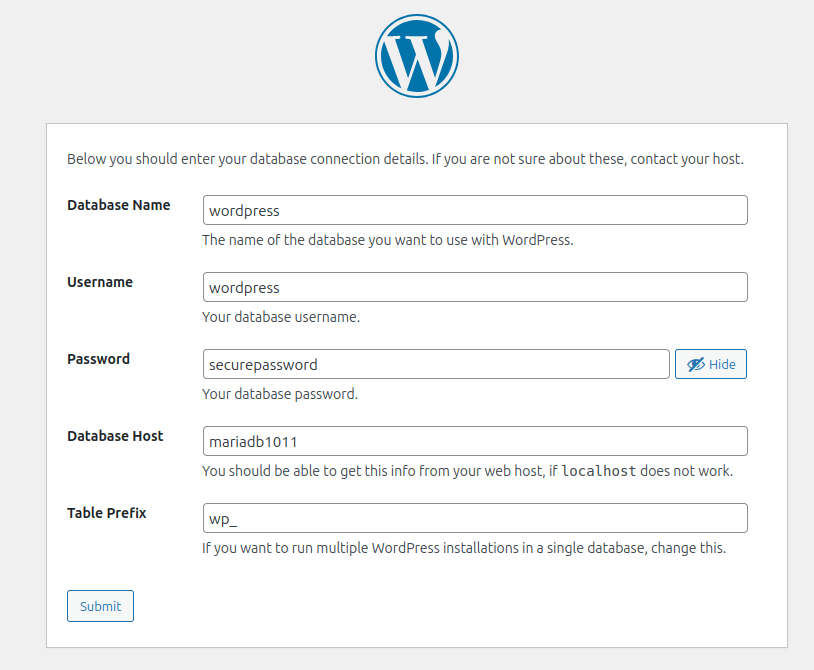
mysql> FLUSH PRIVILEGES; mysql> EXIT - Go to http://localhost:8001/ and configure Wordpress to use your new database
