- Domains
- DNS Management
- Content Delivery Network
-
Cloud Containers
- Overview
-
Using Containers
- Creating and Managing
- Connecting to a Container
- Swapping the Image
- Domain Aliases
- Environment Variables
- Protected Environment Variables
- Backing Up
- Automatic Updates
- SSL Support
- Adjusting Execution Time Limits
- Upgrading Apache Image
- Renaming a Container
- Port Management
- Caching
- Cloning/Overwriting
- Restoring a Backup
- Production Mode
- Metrics Dashboard
- Accessing supervisord
- Container Deprecation
- SSH / SFTP Users
- Databases
- Volumes
- Custom Images
-
Technical Guides
- Create a NodeJS Container
- Creating a Service Container
- Working with .NET Core Web Containers
- Working with Node.js Web Containers
- Working with Umbraco Web Containers
- Deploying your application with git
- Python Container
- Enable Country-Level blocking in Cloud Containers
- Working with SQL Server Containers
- Working with the SilverStripe Caching folder
- Profiling a site using Xdebug on Cloud Containers
- Working with SilverStripe Containers
- NGINX Proxy for Service Containers
- Tuning PHP OPcache
- Deploying phpList on SiteHost Cloud Containers
- Deploying Mautic on SiteHost Cloud Containers
- Deploying n8n on SiteHost Cloud Containers
- Working with ModSecurity on Apache+PHP containers
- Low Disk Warnings & Upgrades
- Local Development
- Virtual Servers
- Dedicated Servers
- Private Cloud
- Cloud / Shared Hosting
- Email Hosting
- Monitoring & Bandwidth
- Account & Billing
- Developers
- SSL Certificates
- Networking
- AI Platform
Getting Started
This guide will help you get up and running on a Cloud Container server and walk you through creating your first container. It will take around 20 minutes, and only requires you to have a SiteHost account with a credit card associated.
Step 1: Provision a Cloud Container server
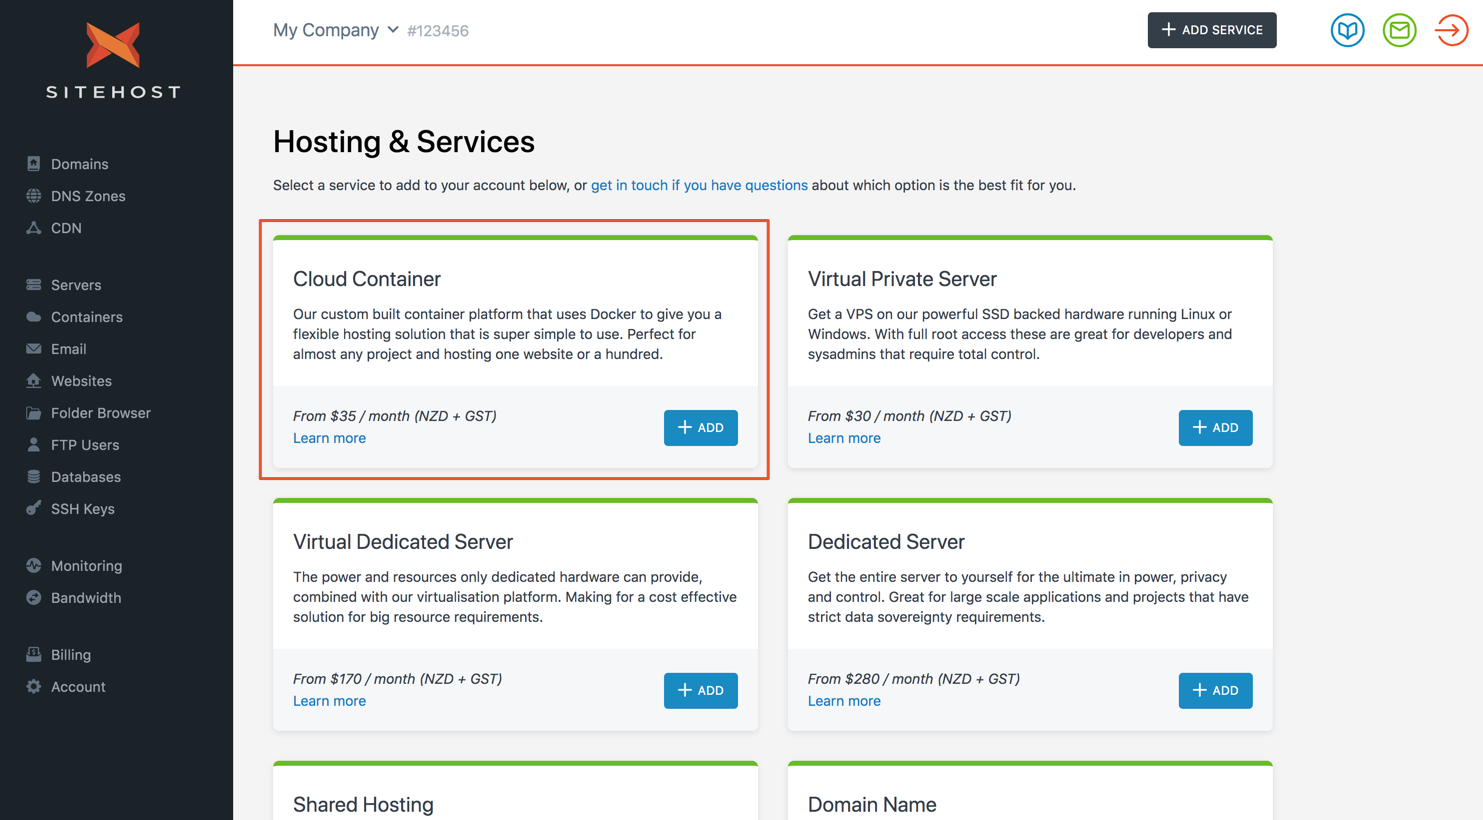
The first step is to provision a Cloud Container. The easiest way to start the process is to click the Add Service button which is at the top right of every screen in the Control Panel. Now click on the Cloud Container option and now it's time to make a few choices:
- Name – Choose something simple, descriptive and memorable.
- Location – Choose the location which is closest to the majority of your customers.
- Plan – You can change your plan later, but the 2 Core plan is good starting place.
- Additional Services – If you're hosting mission critical applications or want advanced features select Server Management.
Now click Provision Server and relax or take a quick break. This will take around 15 minutes as our systems are doing a lot behind the scenes to get your server ready.
Step 2: Create a container
Now your server is ready it's time to create a container. Head over to the Containers module at the menu on the left in our Control Panel and select a container type and image of your choice. We hope it's a simple process but you can also follow the instructions in our Creating a container article.
If you need a database, good news, by default your server has a MySQL container ready to go. Click on Containers and then Databases, you can now follow our articles on Creating a database and Creating a database user.
Step 3: Access the container
Next you need access to the container. Under the Containers menu on the left click on SSH & SFTP and create a user assigned to the container you want to access. This user will work over both SSH and SFTP and will allow you to uploads files or execute commands. You can find more details in our Creating a SSH/SFTP user article.
Step 4: Deploy your website
Access the container with the user you created above via SSH or SFTP, our Accessing a Virtual Server article can help if you run into any hiccups.
Once logged in you will see a directory named /container, all files for each container will appear here, no matter the type of container you are accessing. We go into more detail in the Structure article. Navigate to the /public folder which is where your website will be served from, for a standard web container the path will be /container/application/public and you should see a index.html file, which is our default "It works" landing page. You can delete this file and upload your website via a method of your choice:
- If your website resides within a git repository, you may wish to clone it directly into your container.
- Files can be securely copied directly to your container using SCP.
- Files can be securely uploaded to your container using a file transfer client that supports SFTP.
If you've already updated your Domain/DNS to point at the IP address of your Cloud Container server your website should be live. Welcome to Cloud Containers, it's that simple!