- Domains
- DNS Management
- Content Delivery Network
-
Cloud Containers
- Overview
-
Using Containers
- Creating and Managing
- Connecting to a Container
- Swapping the Image
- Domain Aliases
- Environment Variables
- Protected Environment Variables
- Backing Up
- Automatic Updates
- SSL Support
- Adjusting Execution Time Limits
- Upgrading Apache Image
- Renaming a Container
- Port Management
- Caching
- Cloning/Overwriting
- Restoring a Backup
- Production Mode
- Metrics Dashboard
- Accessing supervisord
- Container Deprecation
- SSH / SFTP Users
- Databases
- Volumes
- Custom Images
-
Technical Guides
- Create a NodeJS Container
- Creating a Service Container
- Working with .NET Core Web Containers
- Working with Node.js Web Containers
- Working with Umbraco Web Containers
- Deploying your application with git
- Python Container
- Enable Country-Level blocking in Cloud Containers
- Working with SQL Server Containers
- Working with the SilverStripe Caching folder
- Profiling a site using Xdebug on Cloud Containers
- Working with SilverStripe Containers
- NGINX Proxy for Service Containers
- Tuning PHP OPcache
- Deploying phpList on SiteHost Cloud Containers
- Deploying Mautic on SiteHost Cloud Containers
- Deploying n8n on SiteHost Cloud Containers
- Working with ModSecurity on Apache+PHP containers
- Low Disk Warnings & Upgrades
- Local Development
- Virtual Servers
- Dedicated Servers
- Private Cloud
- Cloud / Shared Hosting
- Email Hosting
- Monitoring & Bandwidth
- Account & Billing
- Developers
- SSL Certificates
- Networking
- AI Platform
Navigation
Options
Clear History
Virtual Servers
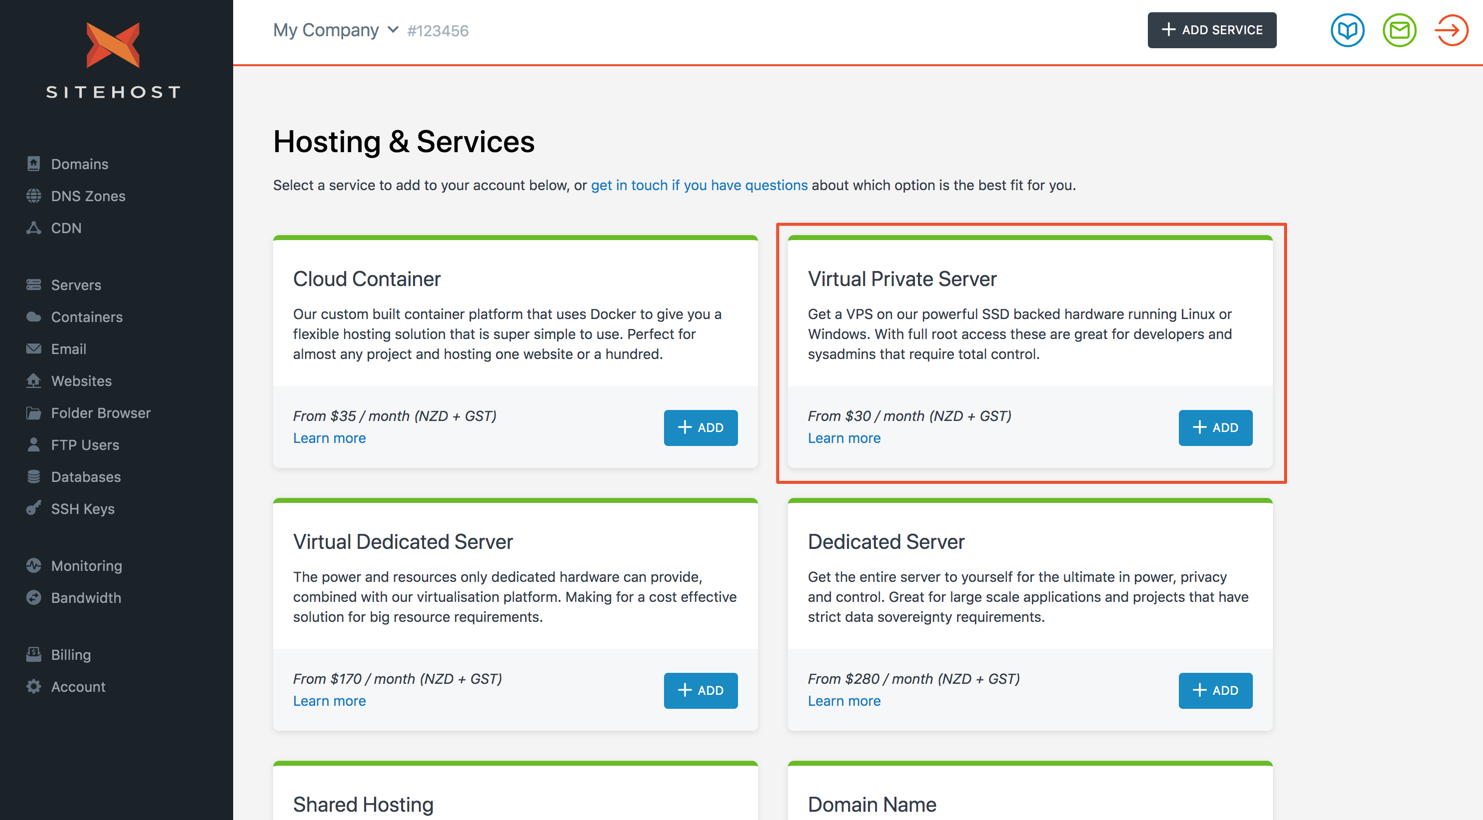
Adding a Server
Adding a Virtual Server
Adding a new Virtual Server to your SiteHost account involves the following steps:
- Log in to the SiteHost Control Panel.
- If you don't have a free account with SiteHost yet, create one now.
- Click the "Add Service" button top/right.
- Choose the Server Product that you want to provision (typically a VPS).
- Enter a Name for your Server.
- Choose the Location.
- At present there are three locations. Our Auckland Central (NZ) facility, our Auckland North Shore (NZ) facility and our Sydney (AU) facility. If you're unsure which location to select, we generally recommend the one closest to the majority of your customers.
- Choose the Image and Operating System that you want to use. Changing the Image may affect the Plans and Pricing, especially if switching between Linux and Windows images.
- Specify your IP Address preferences.
- Specify any SSH Keys you want added to your server (if applicable).
- Choose any Additional Services you want to enable for your server such as Server Management or Automated Backups.
- We highly recommend enabling Automated Backups. Trust us, this will likely save you a lot of time and pain in the long run.
- Click the "Provision Server" button. You will be informed on the progress of the provisioning on the next screen.