- Domains
- DNS Management
- Content Delivery Network
-
Cloud Containers
- Overview
-
Using Containers
- Creating and Managing
- Connecting to a Container
- Swapping the Image
- Domain Aliases
- Environment Variables
- Protected Environment Variables
- Backing Up
- Automatic Updates
- SSL Support
- Adjusting Execution Time Limits
- Upgrading Apache Image
- Renaming a Container
- Port Management
- Caching
- Cloning/Overwriting
- Restoring a Backup
- Production Mode
- Metrics Dashboard
- Accessing supervisord
- Container Deprecation
- SSH / SFTP Users
- Databases
- Volumes
- Custom Images
-
Technical Guides
- Create a NodeJS Container
- Creating a Service Container
- Working with .NET Core Web Containers
- Working with Node.js Web Containers
- Working with Umbraco Web Containers
- Deploying your application with git
- Python Container
- Enable Country-Level blocking in Cloud Containers
- Working with SQL Server Containers
- Working with the SilverStripe Caching folder
- Profiling a site using Xdebug on Cloud Containers
- Working with SilverStripe Containers
- NGINX Proxy for Service Containers
- Tuning PHP OPcache
- Low Disk Warnings & Upgrades
- Local Development
- Virtual Servers
- Dedicated Servers
- Private Cloud
- Cloud / Shared Hosting
- Email Hosting
- Monitoring & Bandwidth
- Account & Billing
- Developers
- SSL Certificates
IP Addresses on Linux
While the steps below should generally apply to servers you provision with us, you may need to consult your SysAdmin or online documentation for more bespoke setups.
Updating Config Files
Once you've added (or removed) a set of IPs from your server, you'll need to update the network configuration files on the server accordingly.
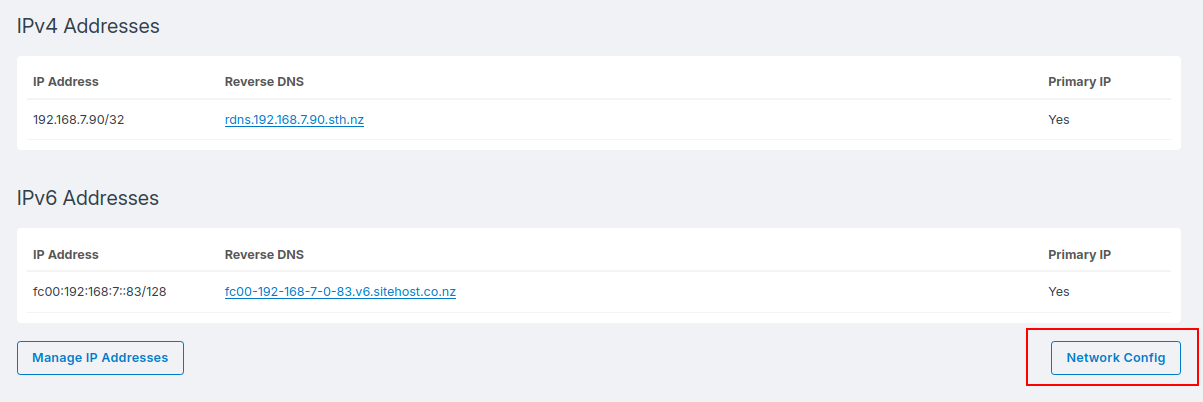
You can view an example of what these files should look in the Control Panel by navigating to your server and scrolling to the IP address section near the bottom of the page.
Click the Network Config button to generate and display the necessary contents of each network configuration file that you will need to update on your Linux VPS.
Please note that any custom configurations that may be on your server will not be included in these generated files.

Applying Networking Changes
Once you've configured your networking files, you'll need to run some commands to apply the changes you've made. These commands are distro specific.
Ubuntu / Debian 12+
Ubuntu and modern Debian VPS' use Netplan for this configuration.
You can verify that your changes work using the following command. If something goes wrong and you lose connectivity to your server, then the command will automatically revert to your previous active configuration after a brief timeout. Otherwise, hit enter to apply the change.
netplan tryAlternatively, you can run the following if you're confident in your changes:
netplan applyAlmaLinux 10
AlmaLinux uses the NetworkManager tool for this configuration.
nmcli connection reload
nmcli connection up 'cloud-init eth0'
AlmaLinux 8/9
nmcli connection reload
nmcli connection up 'System eth0'
Debian 11 (Bullseye)
Debian 11 uses the interfaces system for configuration. Please see the interfaces(5) manual page for more details.
The command you need to run depends on how many IPs you have added. Interface names generated from the Control Panel are incremented once for every IP.
So for the following config file example:
auto eth0
iface eth0 inet static
    address 192.168.7.75/25
    gateway 192.168.7.1

auto eth0:0
iface eth0:0 inet static
    address 192.168.7.76/25
    gateway 192.168.7.1

auto eth0:1
iface eth0:0 inet static
    address 192.168.7.77/25
    gateway 192.168.7.1
The following command will bring up the all IPs eth0, eth0:0 and eth0:1:
ifdown eth0 eth0:0 eth0:1 && ifup eth0 eth0:0 eth0:1